Control - OCR
The OCR (Optical Character Recognition) control can quickly and accurately extract text from files and automatically populate corresponding fields. It supports reading IDs, invoices, and other documents. You can also upload batch attachments, and the extracted information can be written into subforms.
Field Configuration
Here, we use ID card recognition as an example.
- ID and general text recognition only support image files.
- Invoice recognition supports PDF files and images. If a PDF is uploaded, only the first page is recognized.
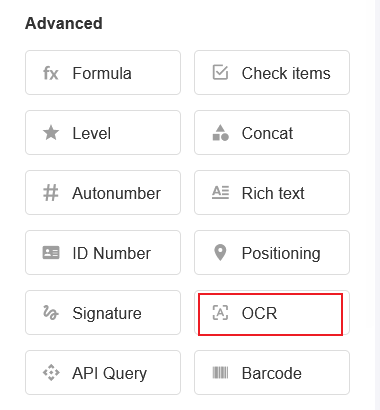
1. Add an OCR Field
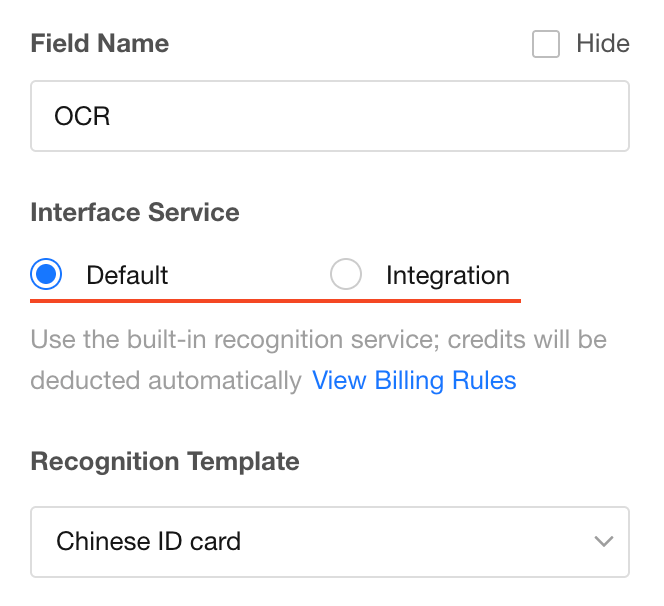
2. Select API Type
There are two types of APIs: system preset and custom APIs from the Integration Center.
-
System Preset: Pre-packaged OCR service from the platform, directly callable, 0.03 credits per call, charged from the organization account balance.
-
Integration Center: Custom API service configured via the Integration Center. No platform fee is charged; any costs are paid directly to the third-party service.
2.1 System Preset API
-
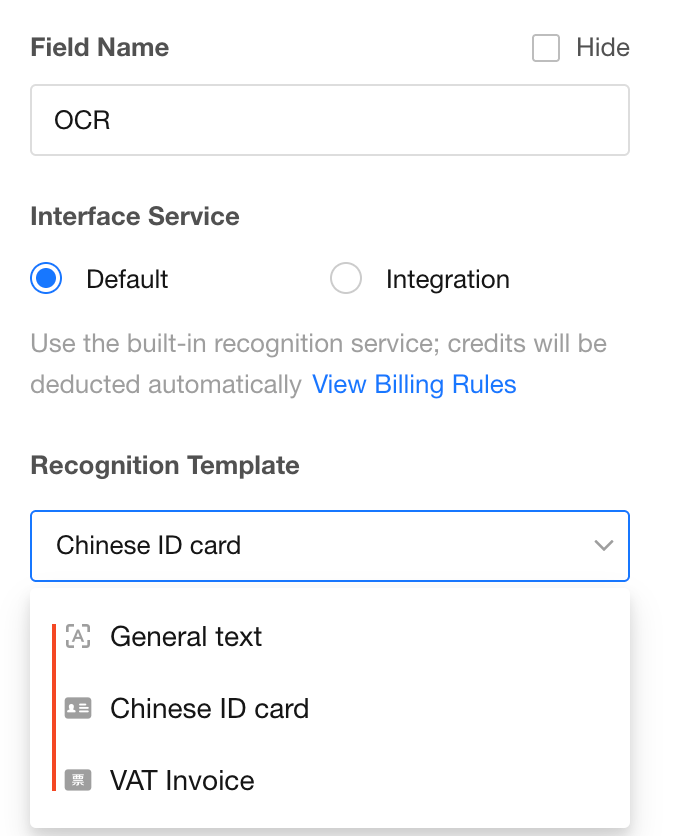
Select Recognition Template (ID Card)
-
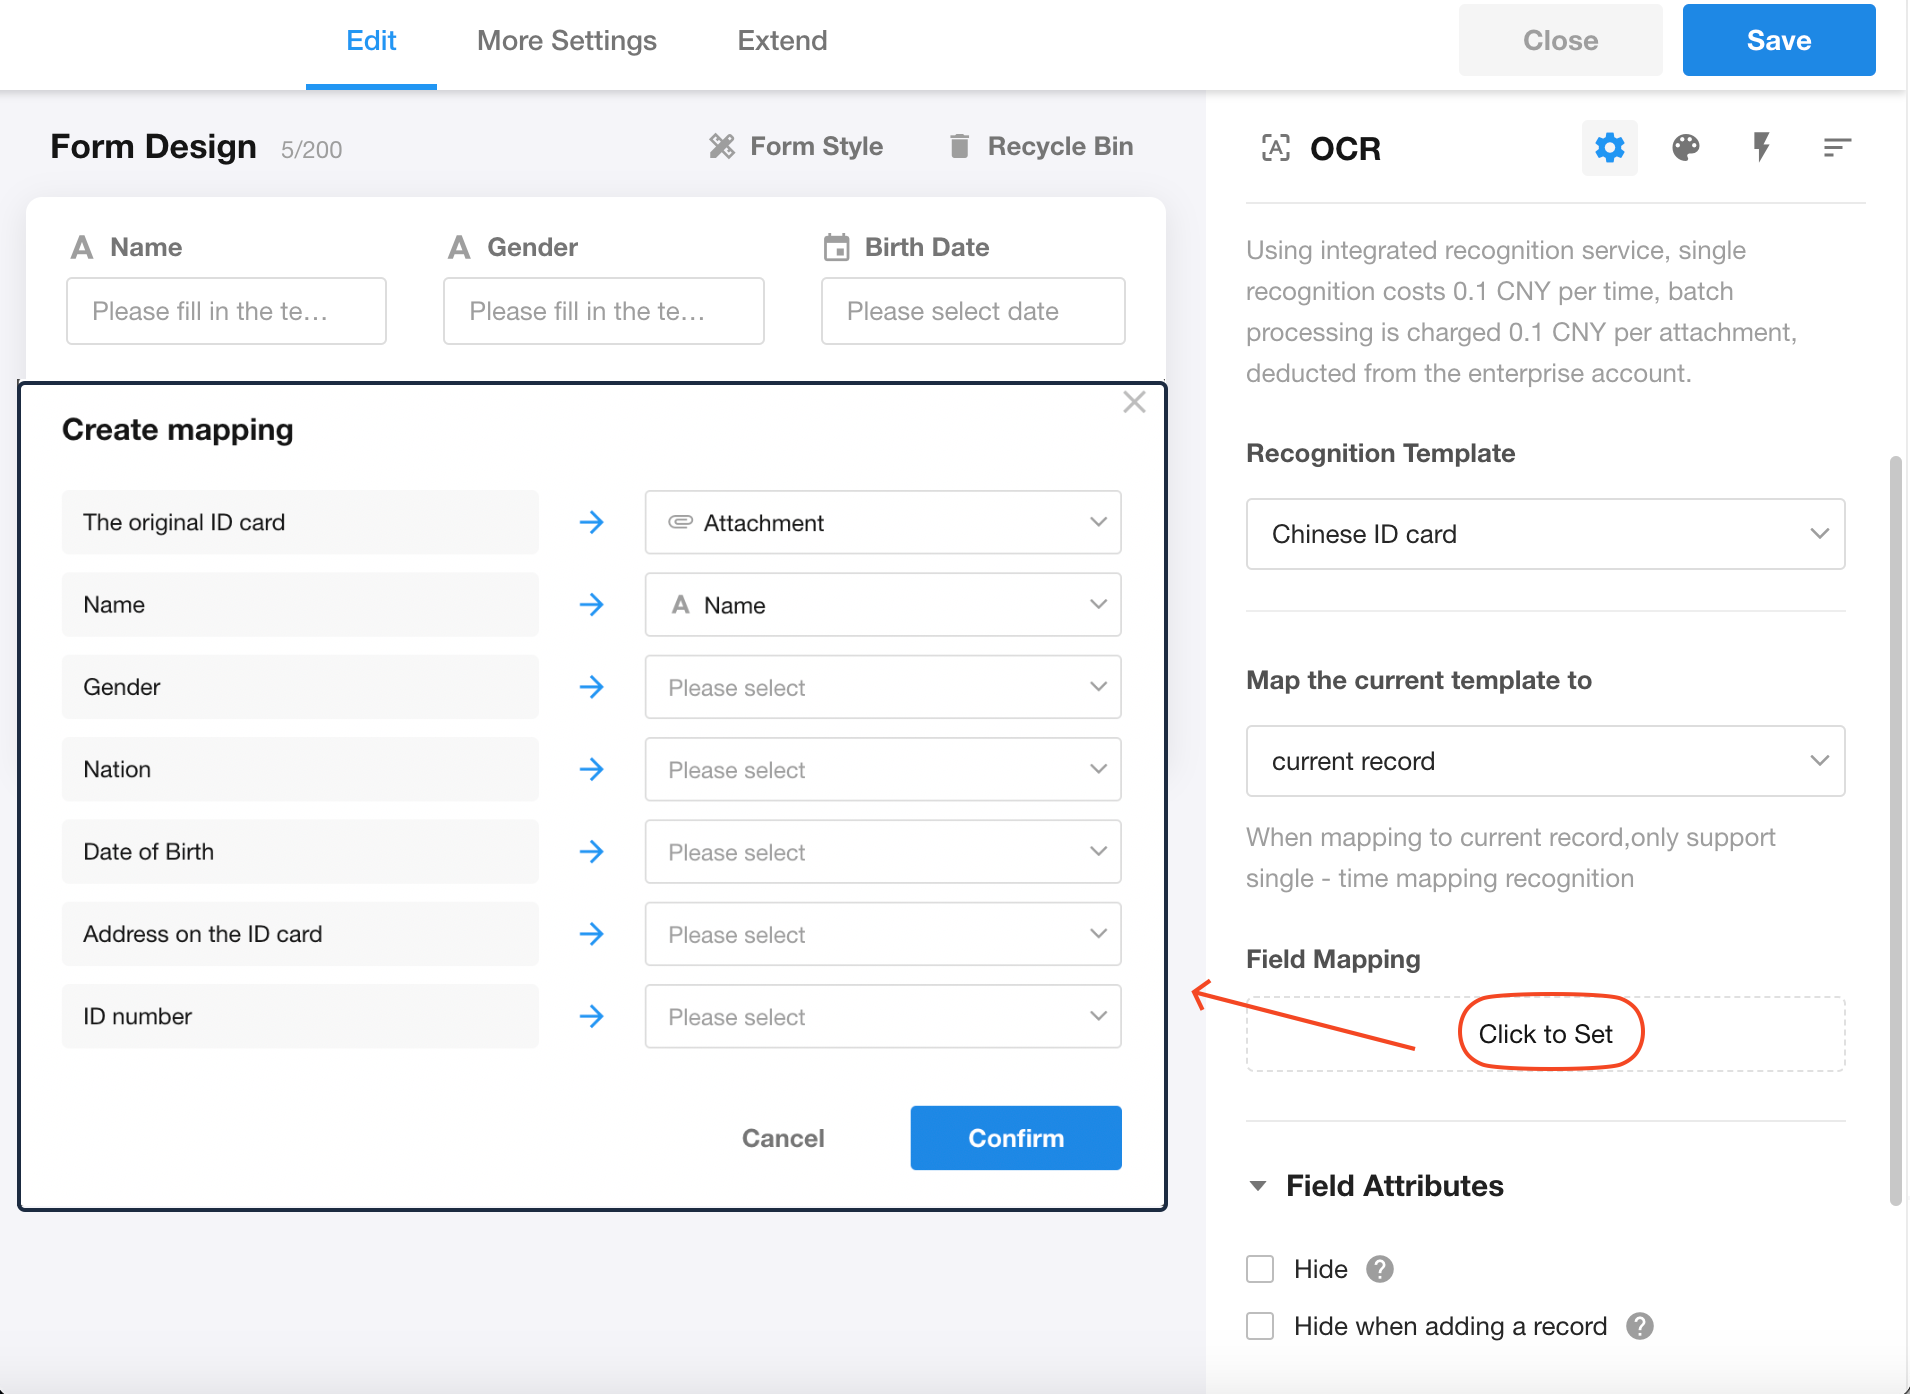
Choose whether to write recognized content to the current record or a subform
Writing to the current record does not support batch uploads.

-
Click Settings to map fields
-
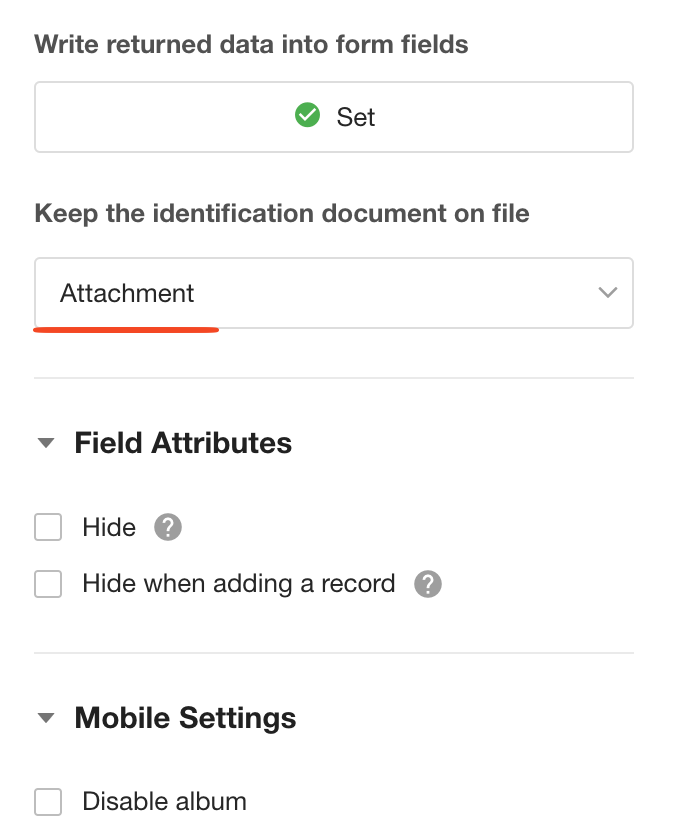
Select the corresponding fields in the worksheet
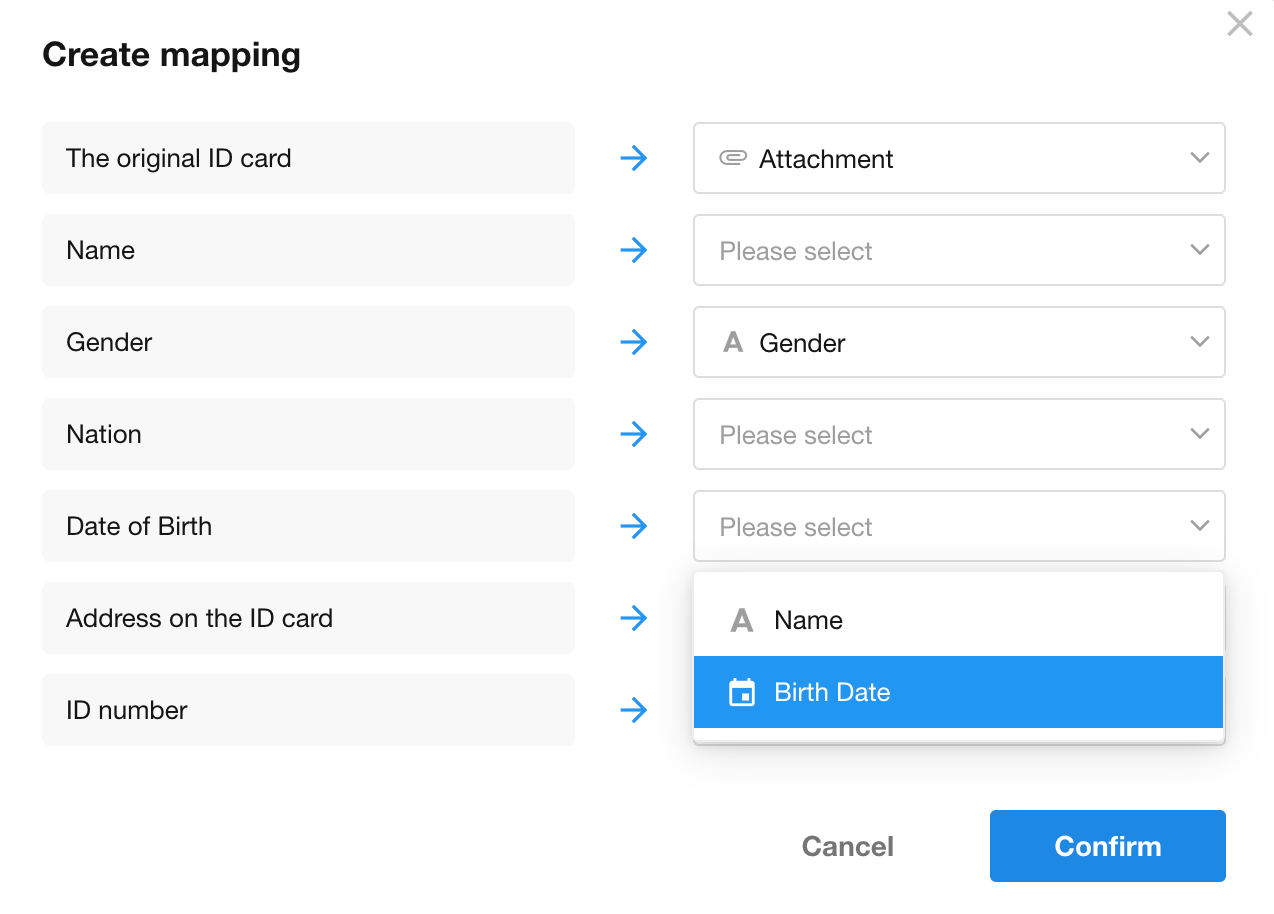
The first field "Original ID Card" is the image to recognize; you can select an attachment field to store it.
-
Complete field mapping and start testing
2.2 Custom API from Integration Center
You can use your own OCR service or third-party service via the Integration Center. After configuring the connection and API in Integration Center, the OCR field can be used directly. Any costs are paid to the third-party service. Learn more
-
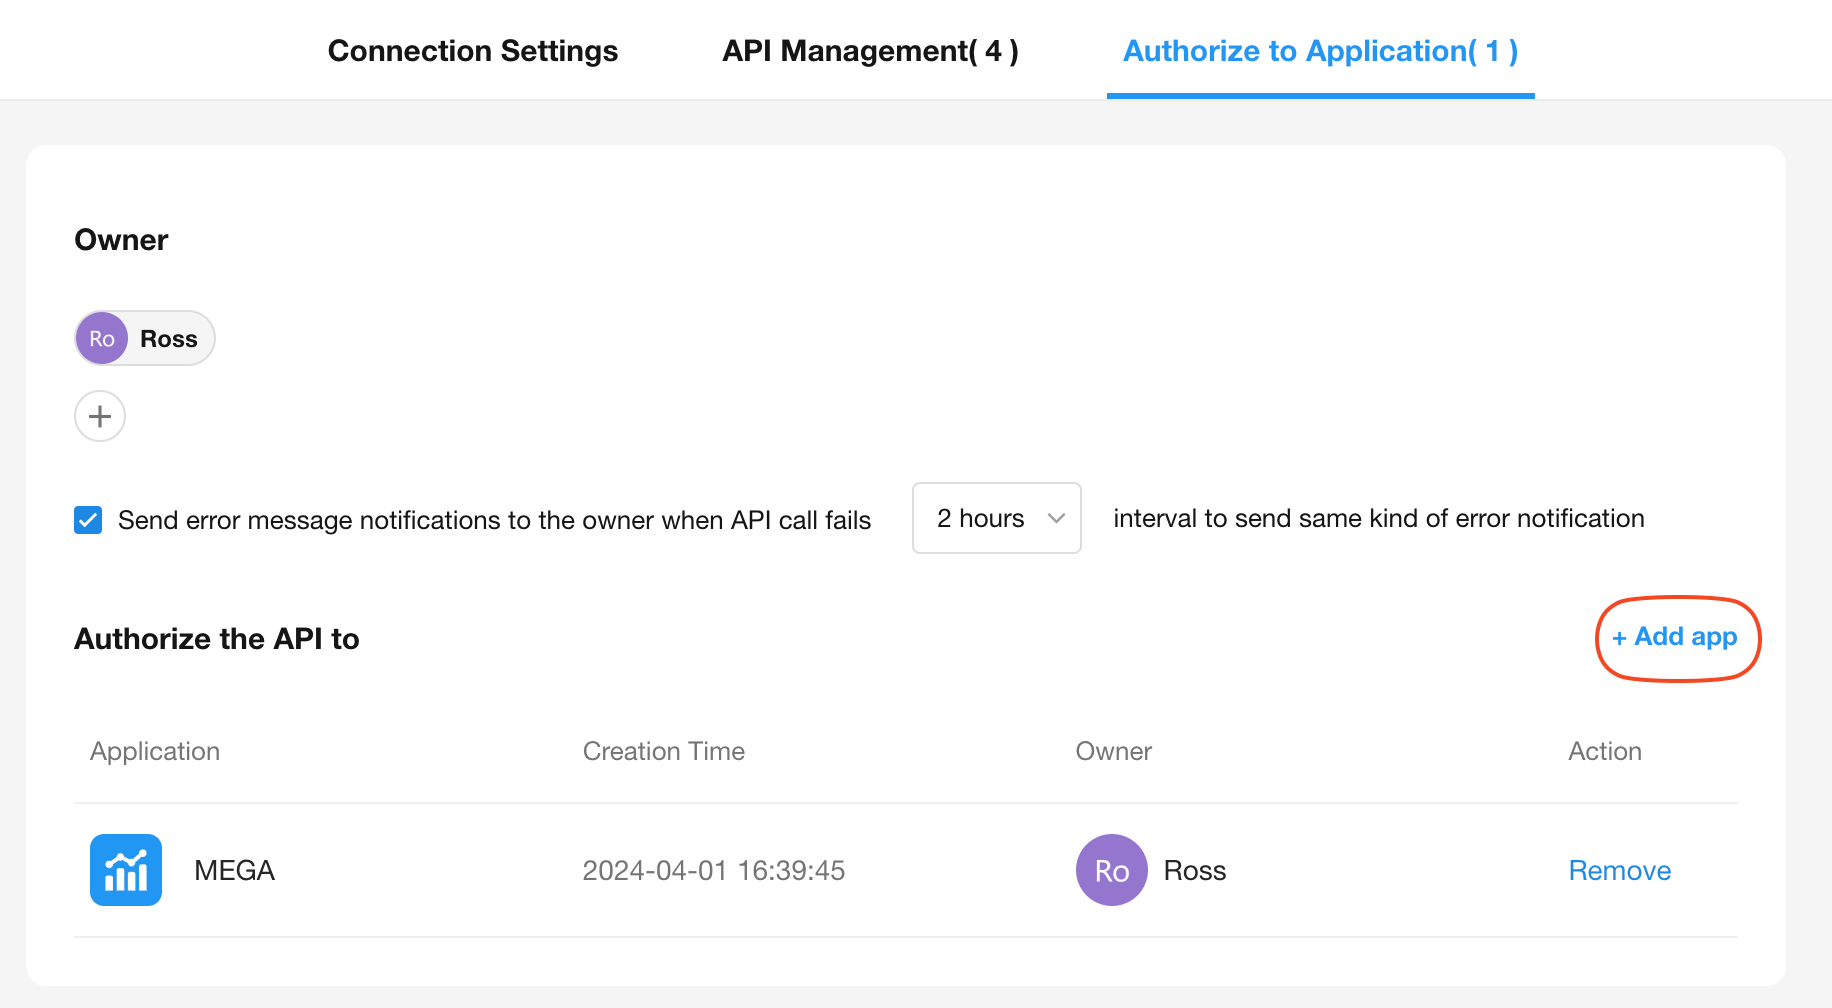
Select an API configured in the Integration Center

If the desired API does not appear, ensure it is authorized for the current app.
-
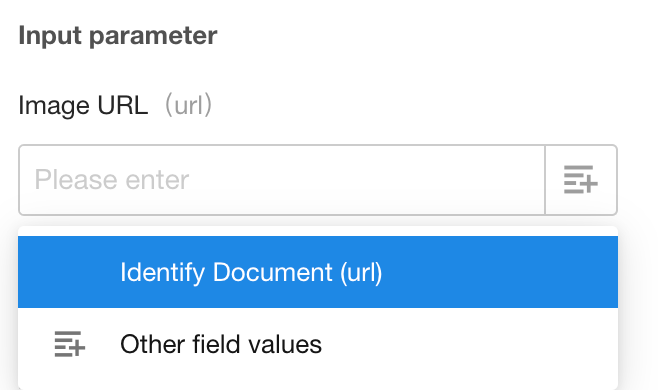
Configure the parameters
For example, pass the image URL from the OCR control.
-
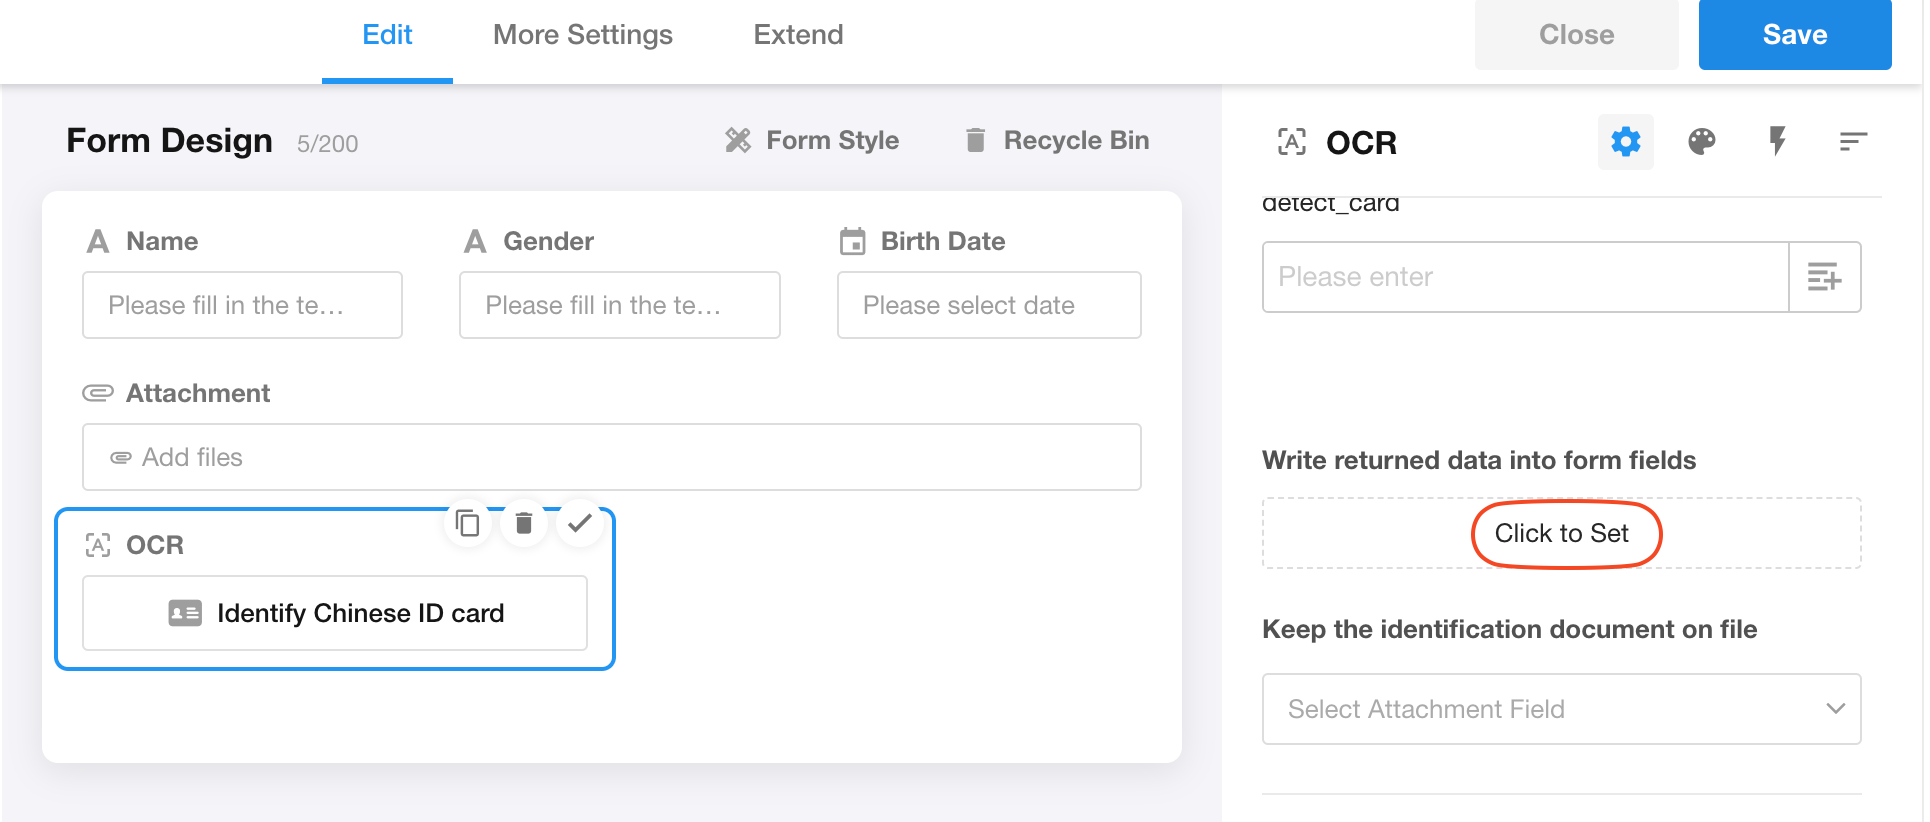
Write the recognized content to worksheet fields
For the back side of an ID card, add another OCR control.
-
Save the recognized image to an attachment field
-
Complete configuration and start testing
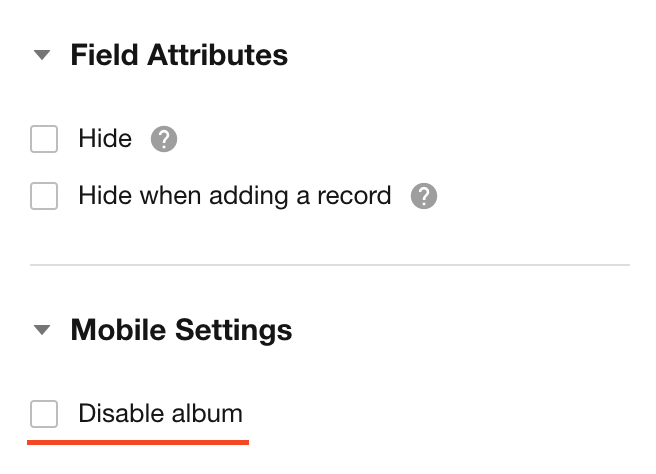
Disable Album on Mobile
On the mobile app, you can disable access to the photo album; OCR can only use the camera for capturing images.
Notes
-
For invoice recognition, invoice details must be stored in a subform, not a relationship field.
-
If a tax rate field shows 0, check the decimal setting of the field; change to 2 decimal places if necessary.
Was this document helpful?