Introduction to Organization Roles
Compared to departments and job titles, organization roles offer a more flexible way to group people using labels such as "Project", "Engineering", "Production", "Sales", or "IT". Once an organization role is defined, you can directly assign it in apps to grant permissions to its members.
Role Management
Organization role management includes: creating roles, adding/removing members, exporting members, editing roles, setting role remarks, creating role groups, and assigning departments that members are responsible for.
1. Create Roles/Role Groups
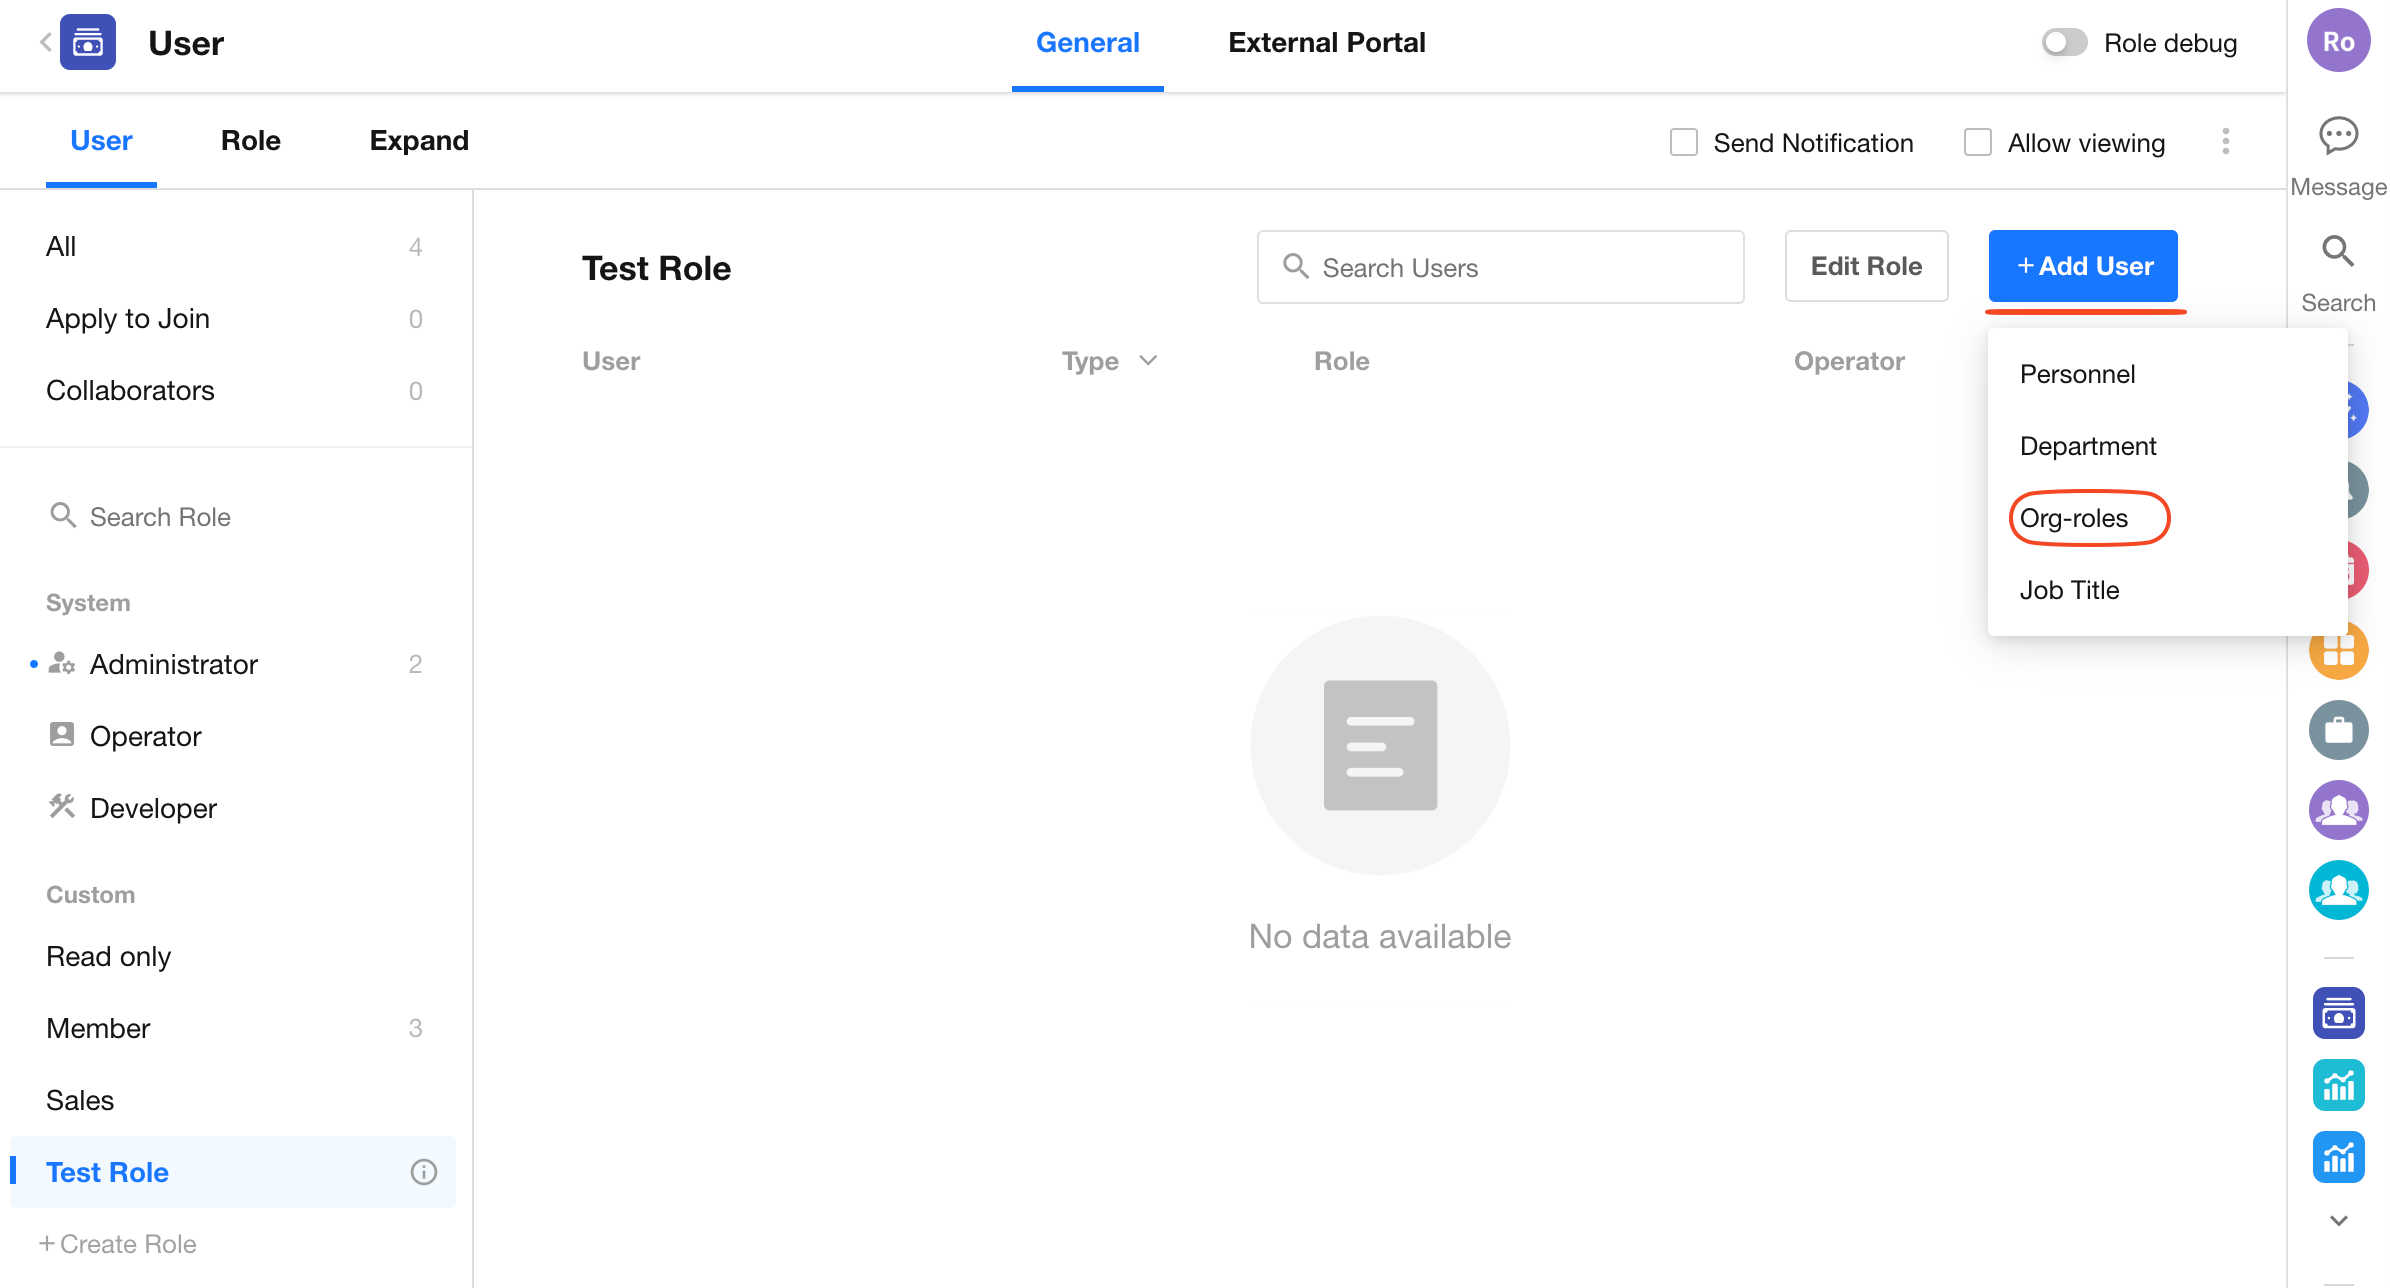
Organization administrators can go to Org Admin > User > Role] via the profile menu to create roles, define role names, assign them to groups, add notes, or bulk-import roles.

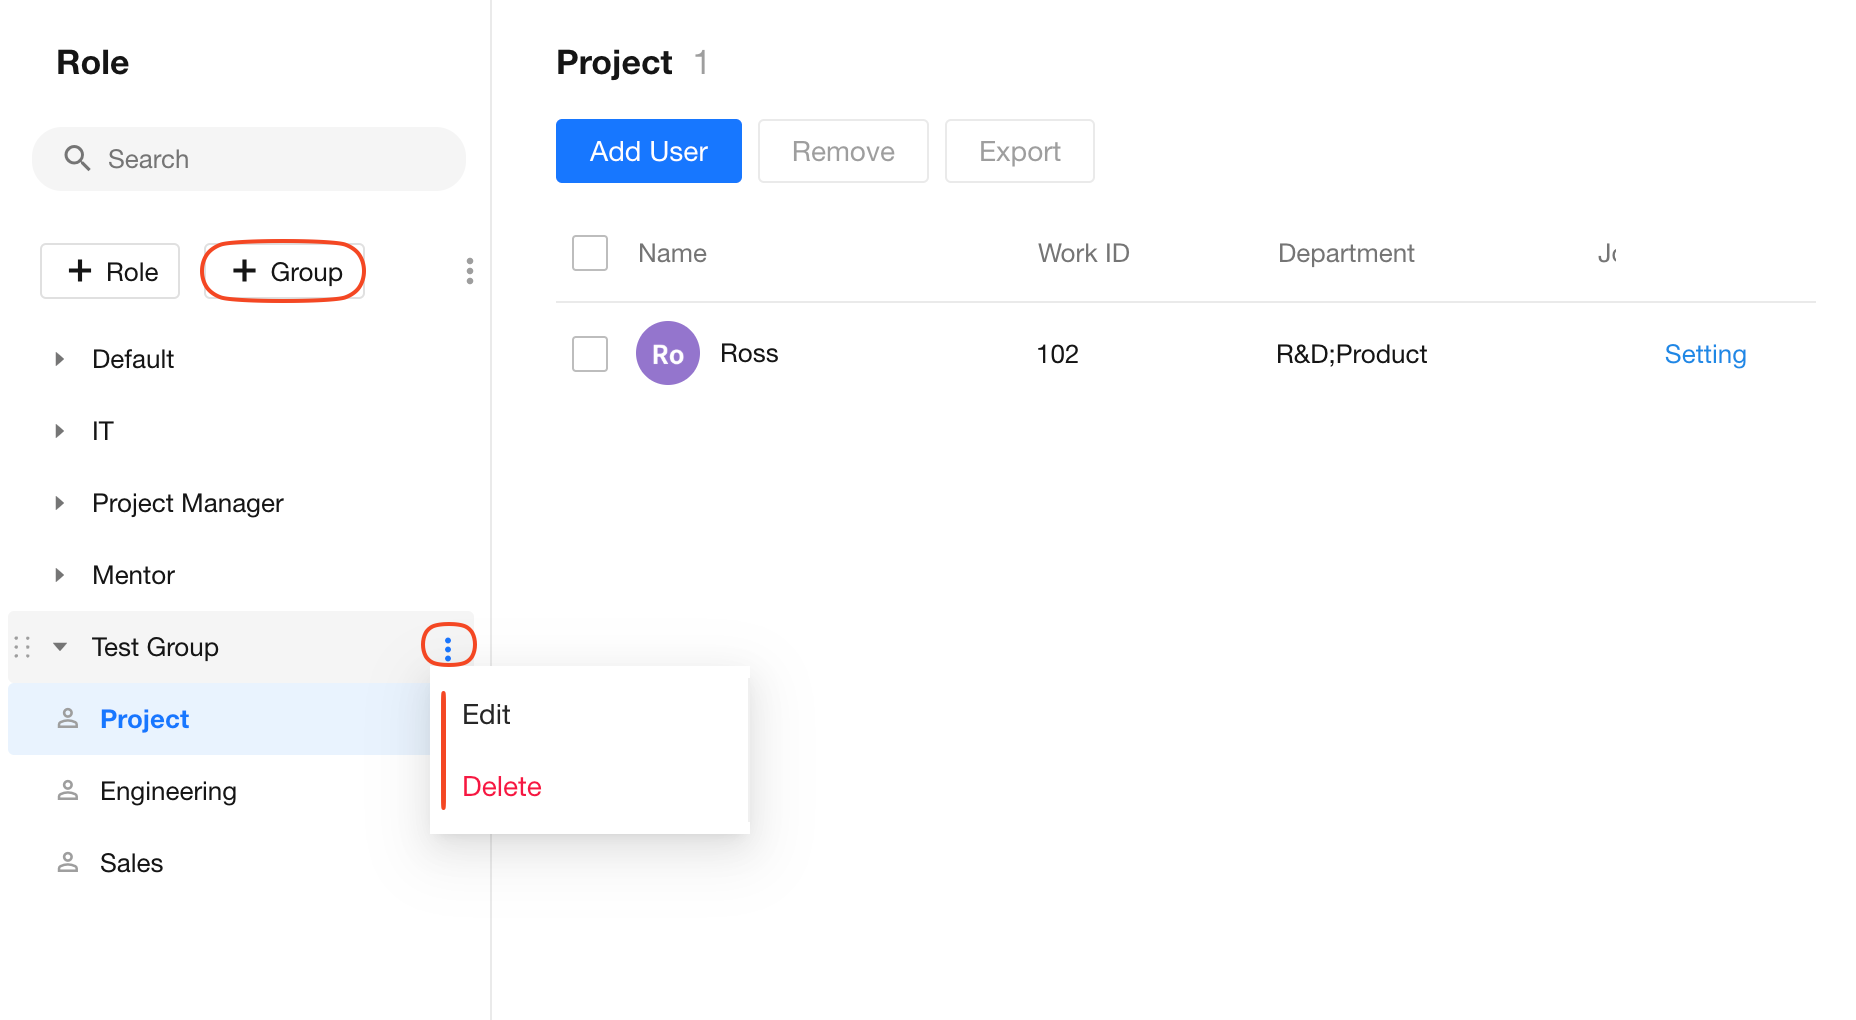
Role Groups
Organization roles support grouped management. There is a default system group called "Default", which cannot be edited. You can create up to 50 custom groups by clicking the Group button. Groups cannot be deleted if they contain roles.
2. Edit Role Name/Add Remarks/Delete Roles
To edit a role, select it from the role list and click the Edit button to open the editor popup.
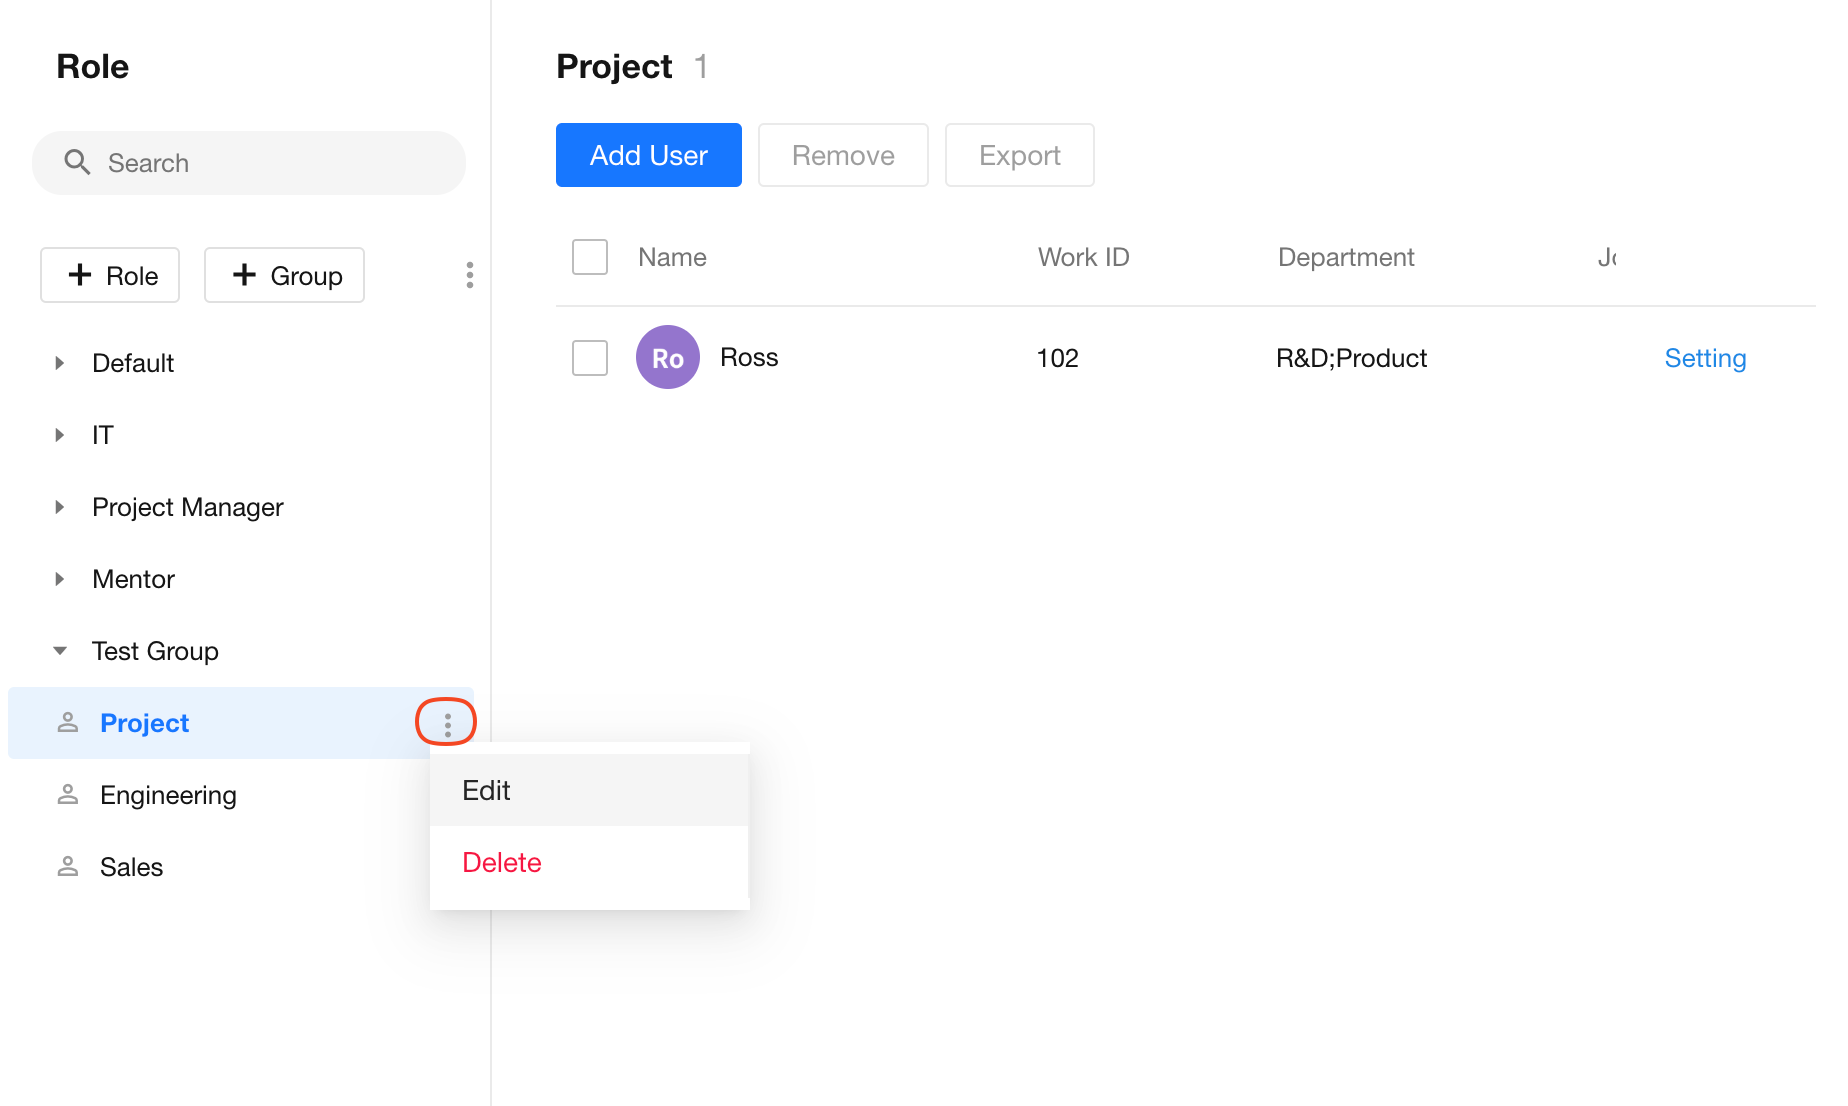
3. Add Members to a Role
Select a role from the list. On the right, you can manage its members. Click Add User to assign users from your organization to the role. One user can belong to multiple roles.

4. Remove/Export Members
Select a role and check the users from the member list on the right. You can then remove or export them.

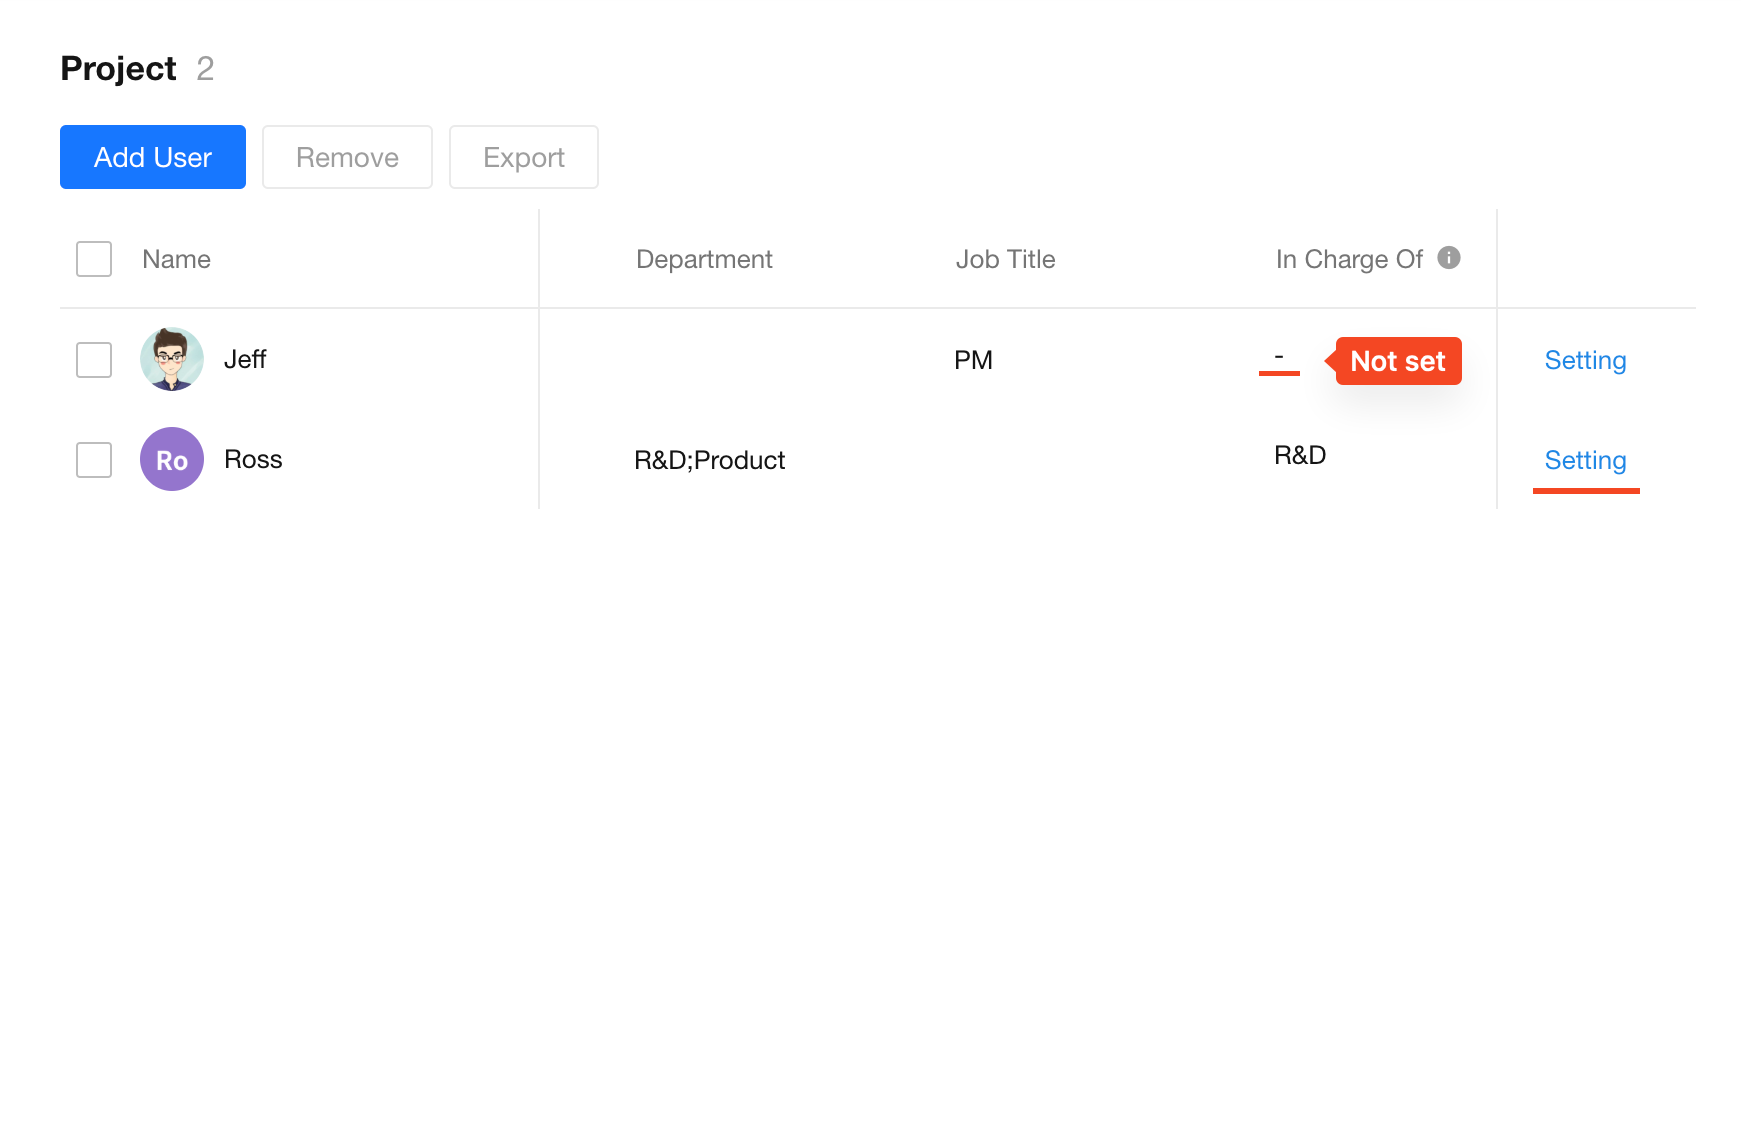
5. Assign Departments to Members
Each member in a role can be assigned one or more departments they are responsible for. This is useful for workflows, such as defining approvers. If not set, members are assumed to be responsible for All Members, and the value will appear as -.
6. Usage Scenarios for Organization Roles
-
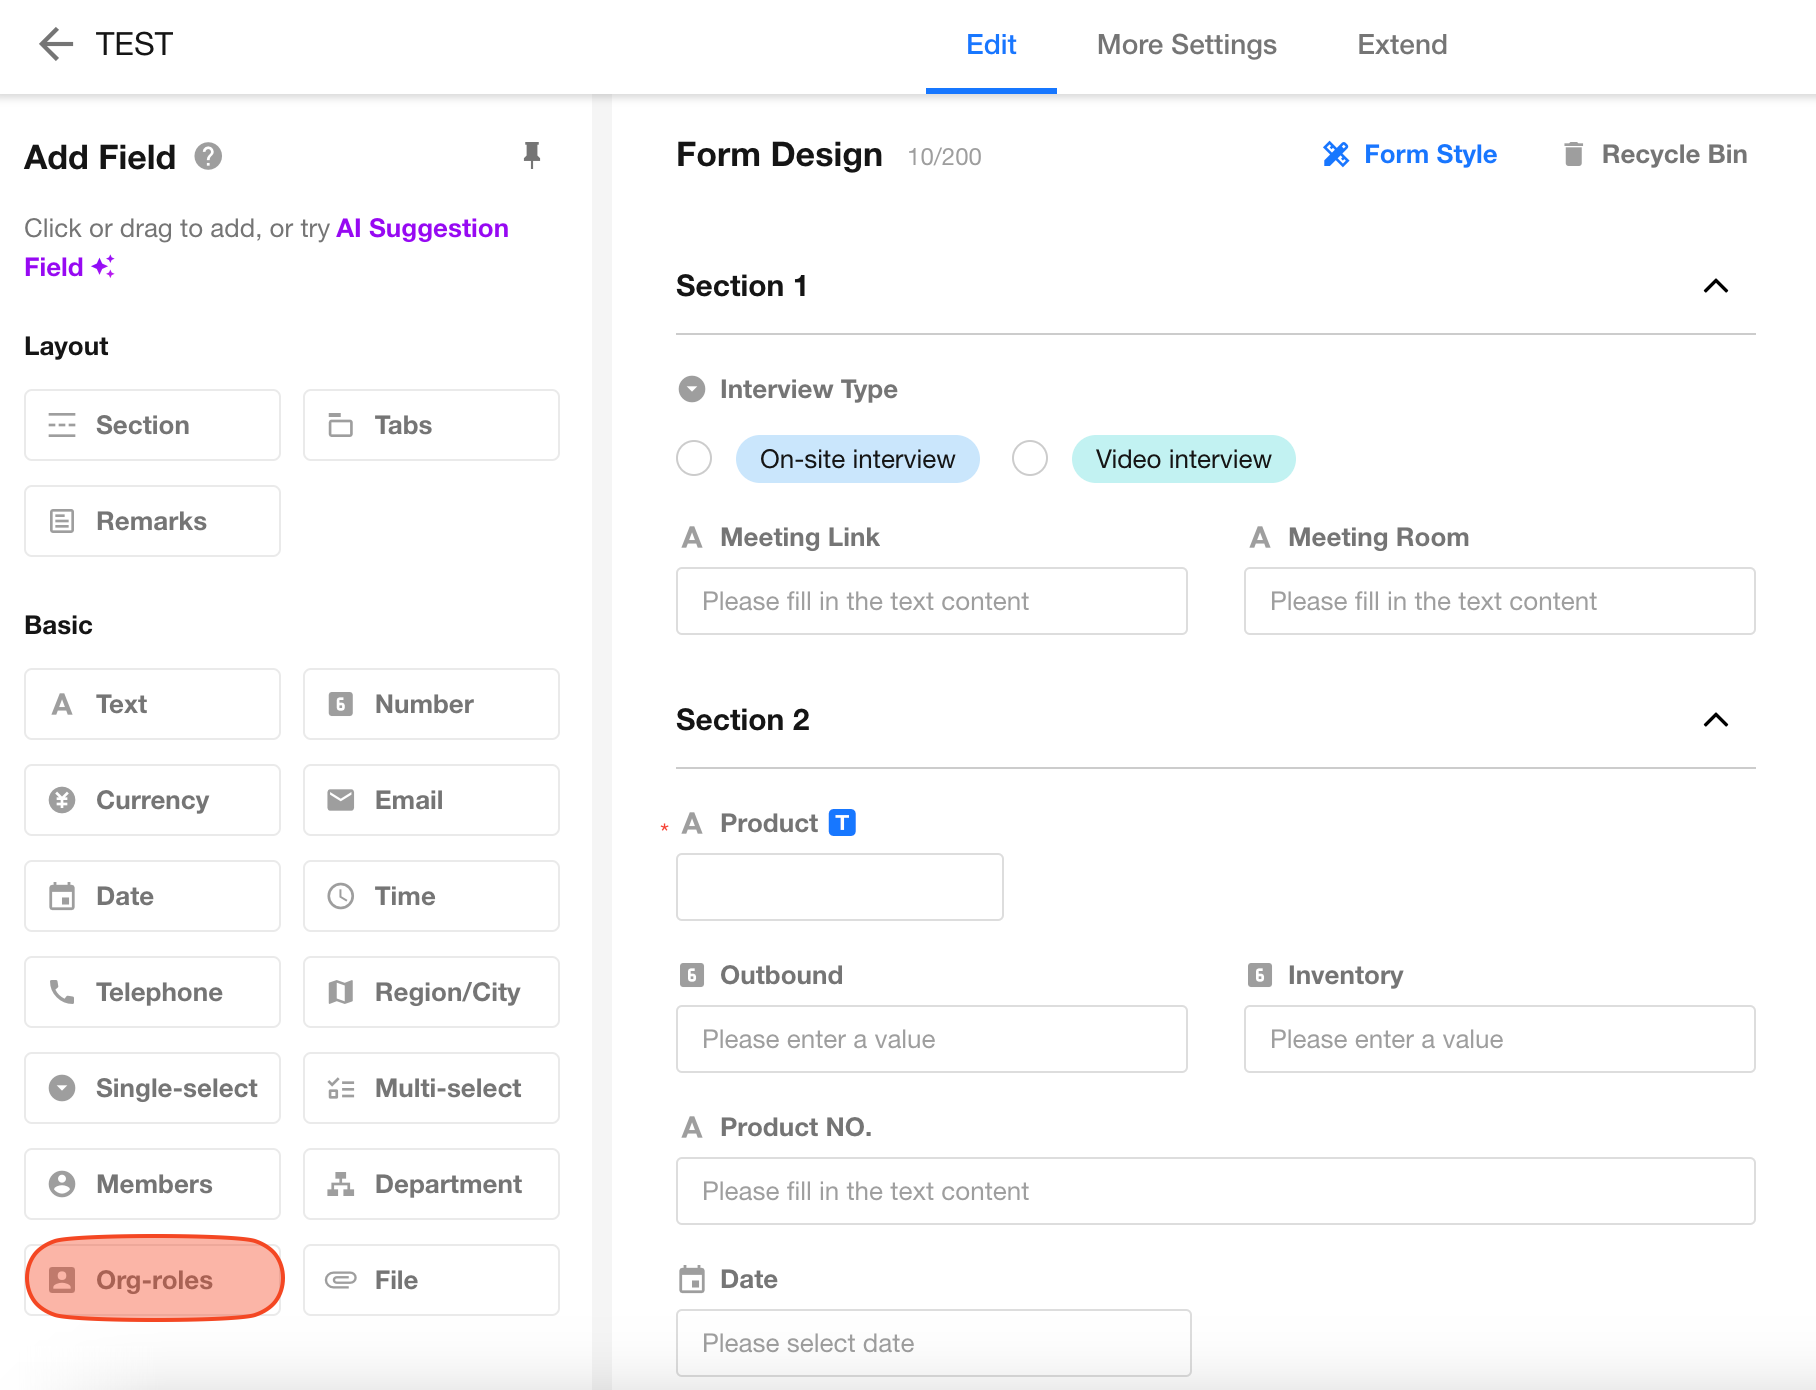
Use Org-roles fields in worksheets
-
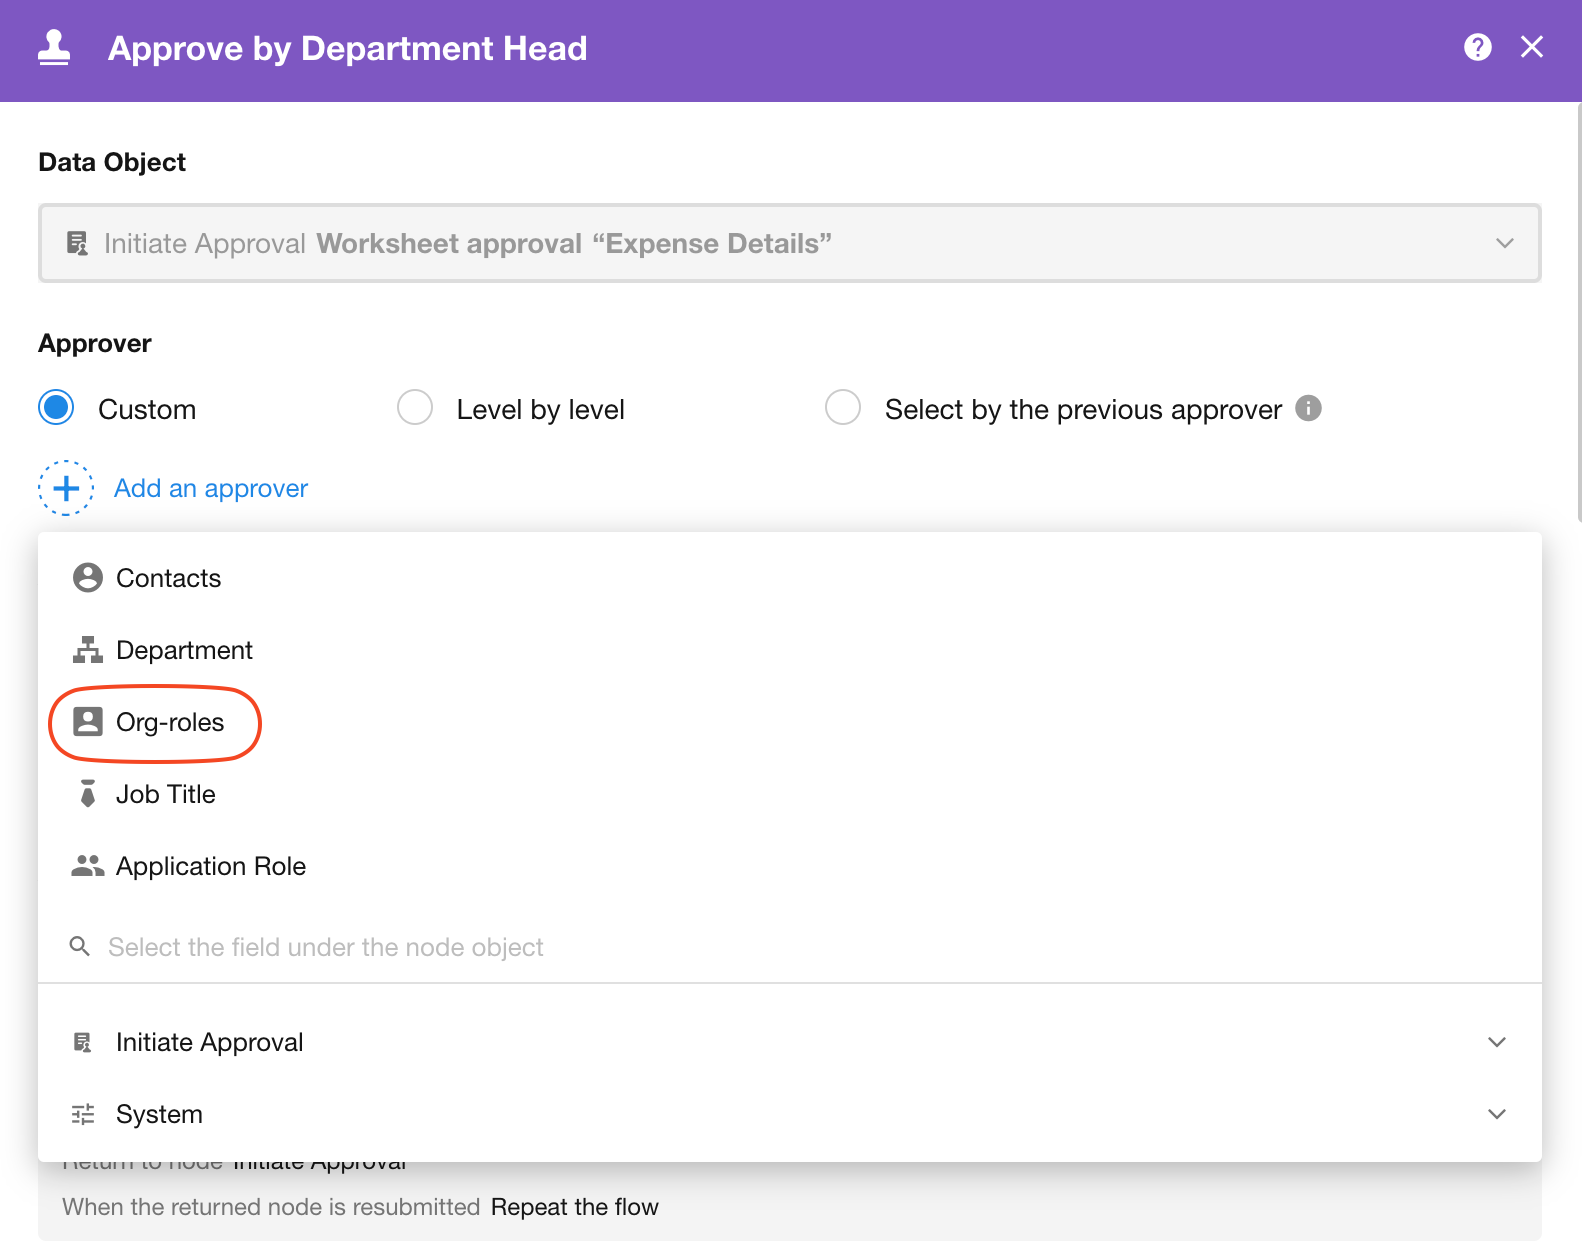
Assign permissions in apps by adding members to roles using organization roles
-
Approval node: Add approvers by organization roles
-
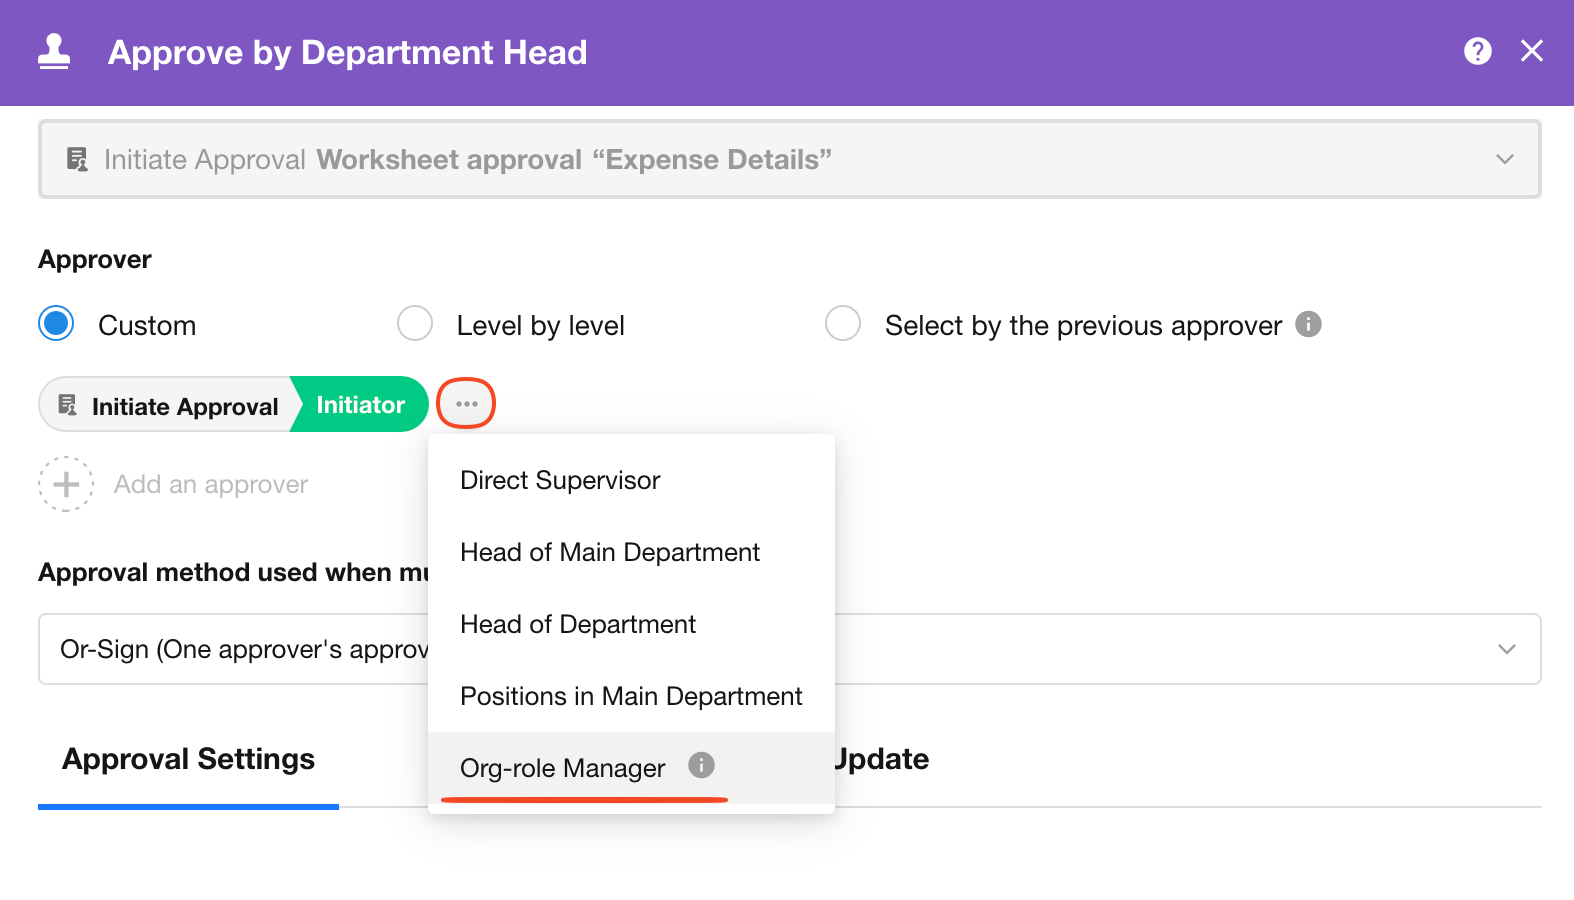
Approval node: Set approvers as members responsible for the departments in organization roles
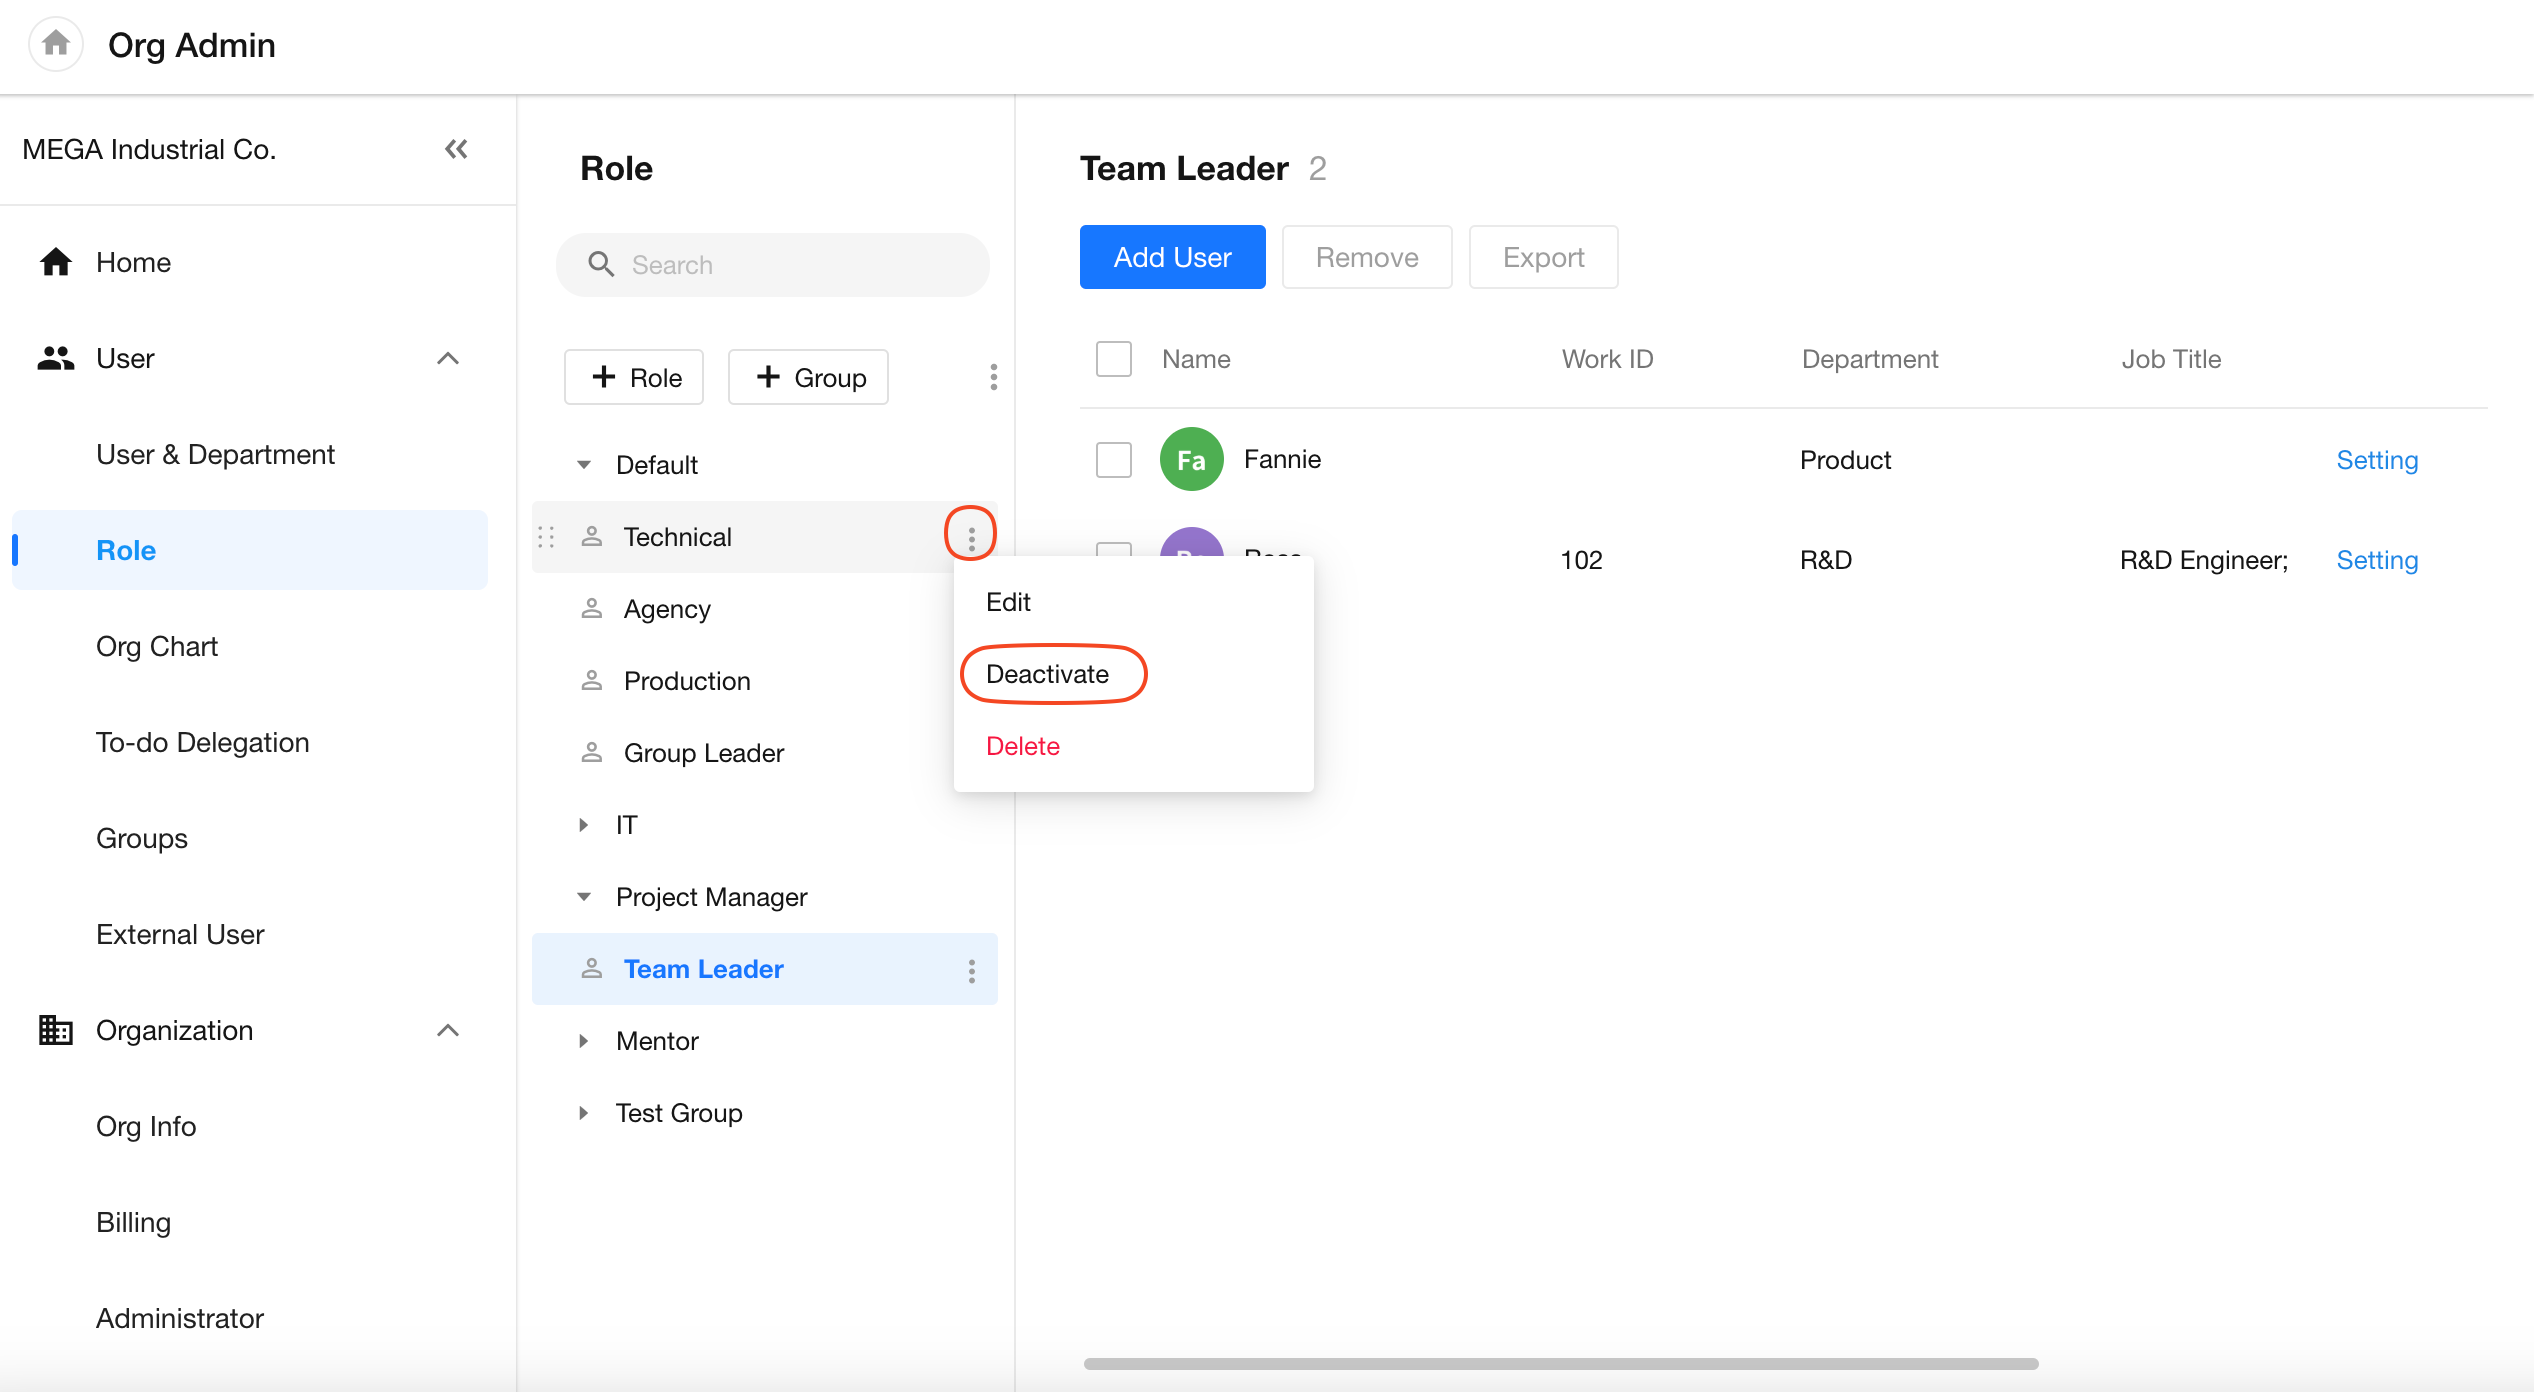
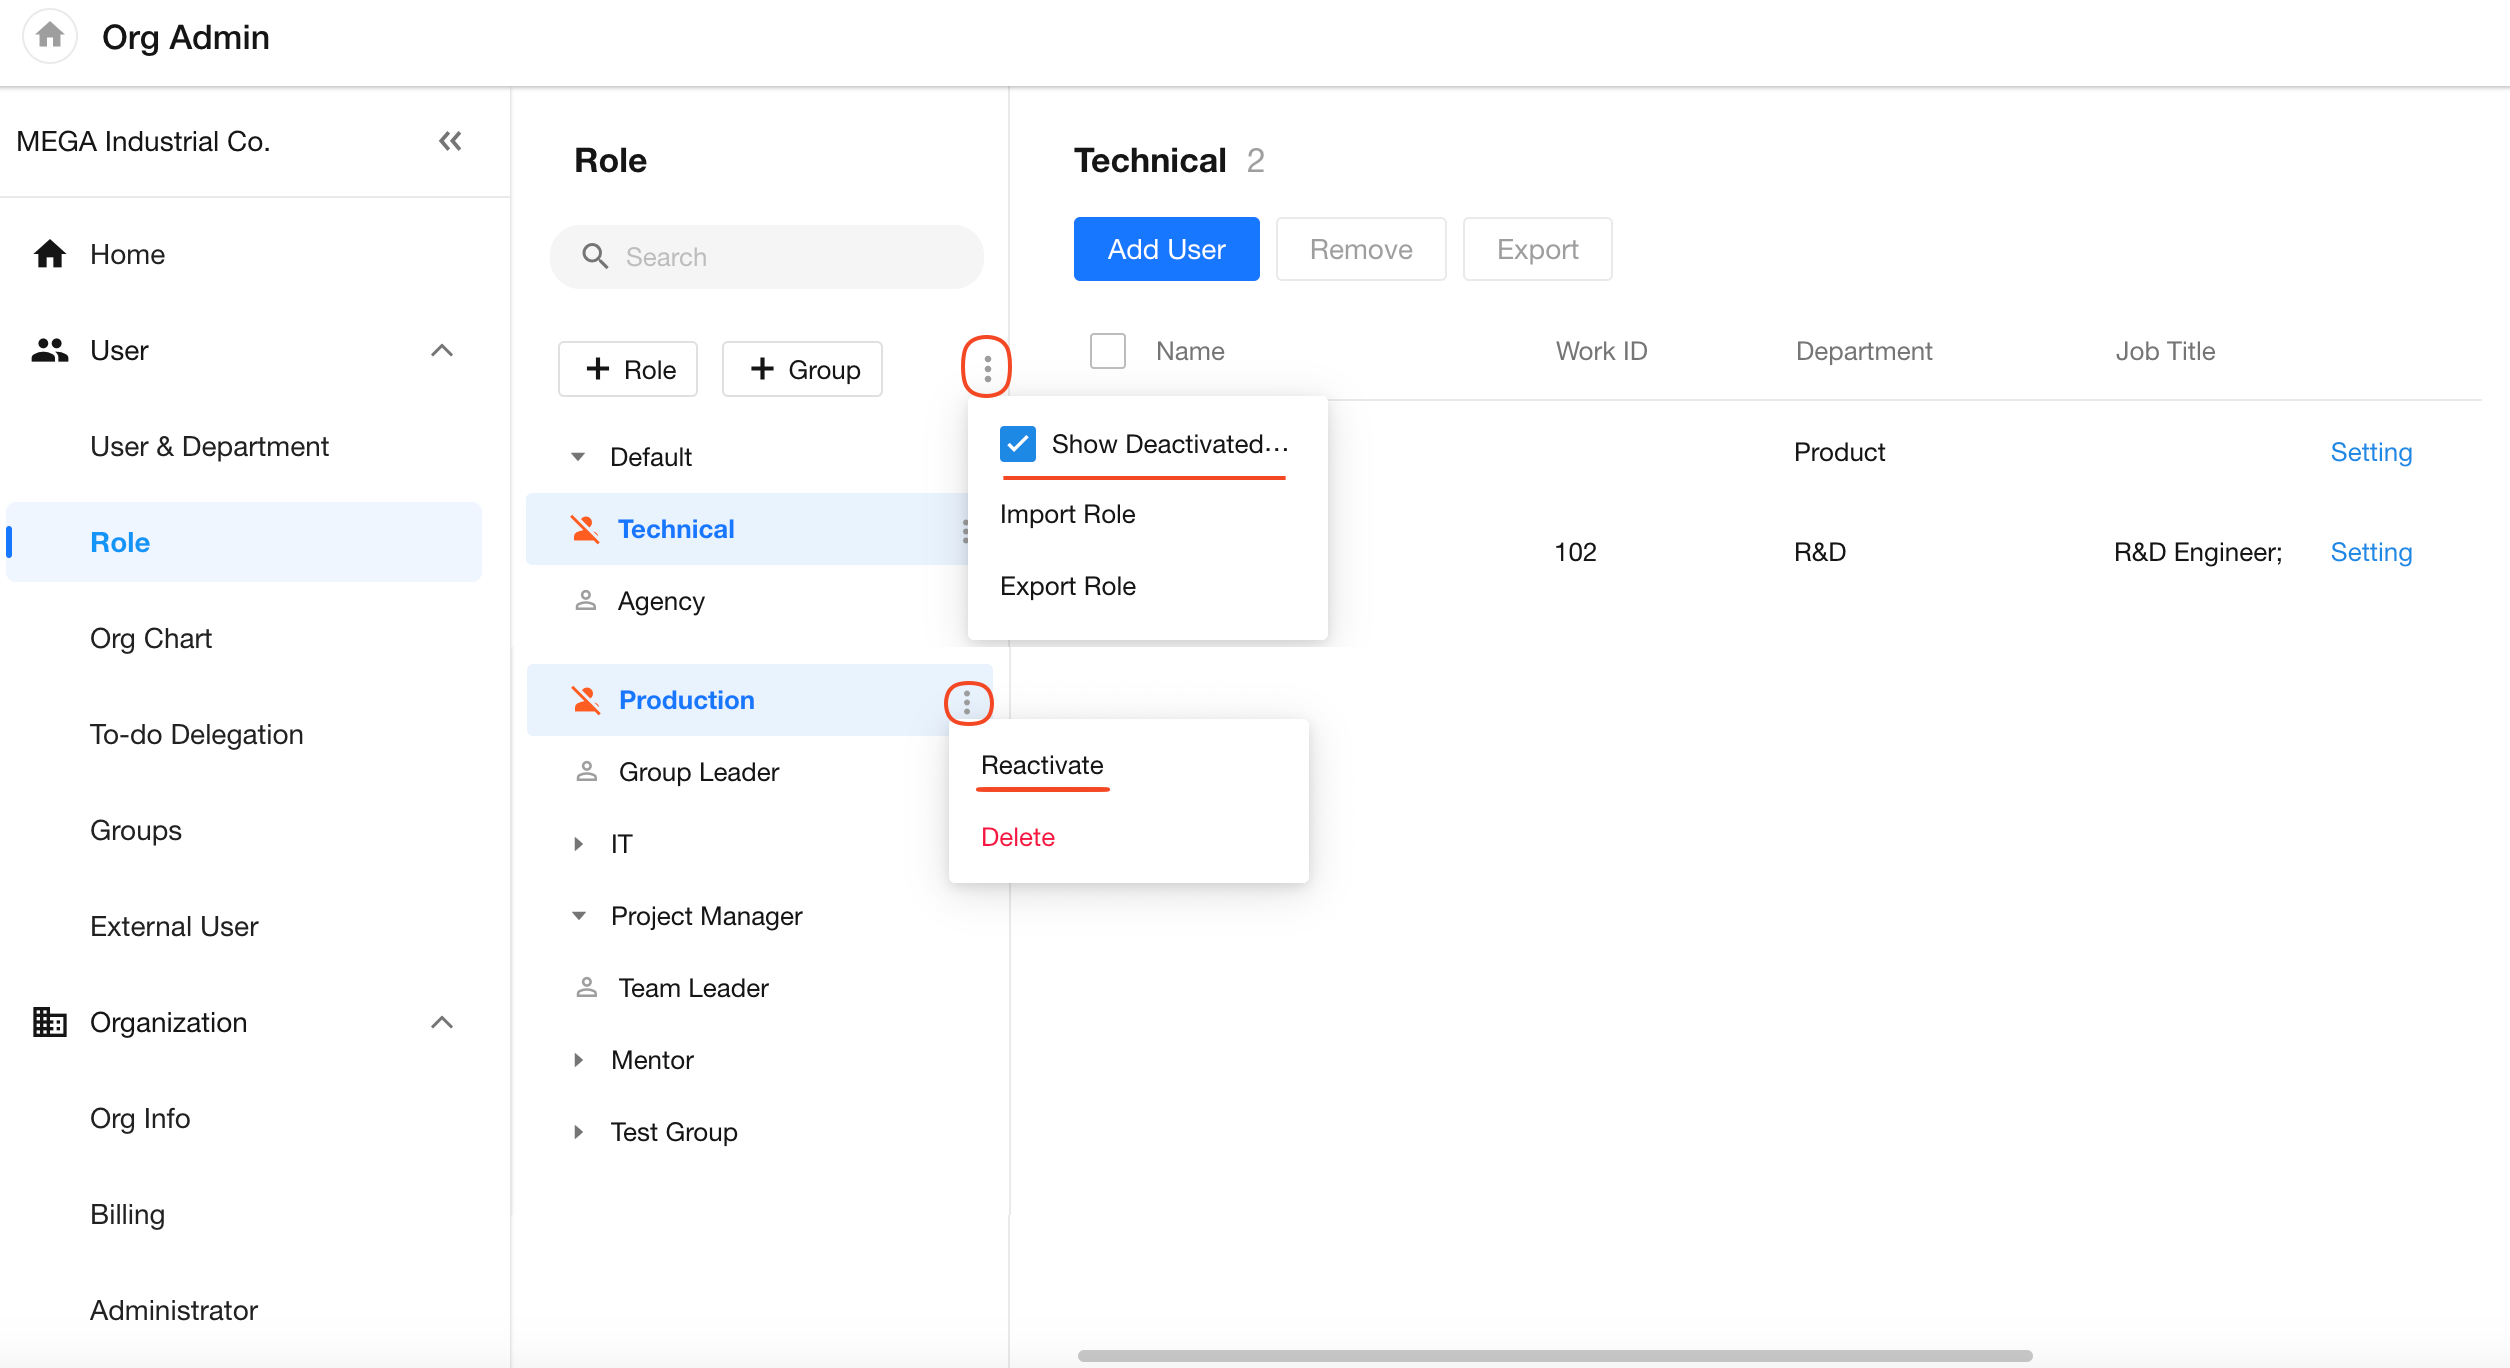
7. Deactivate Organization Roles
Both organization roles and role groups can be deactivated. In the organization role list, click the action menu next to the role name and select Deactivate.
What Happens After a Role Is Deactivated?
-
The role will no longer appear in any organization role selection list.
-
In records where the deactivated role was previously displayed, it will appear with a strikethrough format, such as
Technical Expert -
Organization administrators can still manage users assigned to deactivated roles through the role management panel.
-
Deactivating a role does not affect member synchronization or import. You can still import or sync users into a deactivated role.
-
When exporting the role list, the Status column will mark deactivated roles as Deactivated.
Manage Deactivated Roles
Administrators can view and manage deactivated roles and their members from the organization role list.
- You can toggle whether to display deactivated roles in the list.
- You can reactivate a deactivated role at any time.
Was this document helpful?